
Baking dog treats? So easy!
That look! The unmistakable doggy look when a treat is within reach – pure hope, eager anticipation, maybe even a touch of drama: Is there something for me? Of course there is: crunchy, homemade dog treats – free from unhealthy additives, full of good ingredients and plenty of love. Because love goes through the stomach, for dogs too.
In this article we serve you our top favourite recipes for homemade dog treats. You'll learn everything you need to know about baking with and without a baking mat. Naturally, our LuckyChef dogs tested every recipe with the greatest enthusiasm (and slightly drooling anticipation). Verdict: super tasty and well tolerated. The dogs didn't find it quite as exciting, but our nutrition experts did: there are calorie and nutritional details for every recipe.
So, tie on your apron and get to the dough – your dog's eyes will shine brighter than the kitchen spotlights.
Which ingredients do I need to bake dog treats?
With or without grain?
The first step to healthy and tasty dog treats? The right ingredients! Not every dog tolerates everything well; some have intolerances or allergies, especially to gluten. If you're unsure, it's better to go for a grain-free option. Before you start baking, decide for your dog: dog treats with or without grain?
Grain-free – for sensitive dogs & allergy sufferers:
- Buckwheat – not a grain & full of nutrients
- Coconut flour – high in fibre & easy to digest
- Rice flour – gluten-free & especially mild
- Potatoes & sweet potatoes – natural binders & well tolerated
With grain – for dogs without intolerances:
- Oats – low in gluten & good for digestion
- Wholegrain spelt flour – a nutrient-rich alternative to wheat
Wheat flour isn't the best choice when baking for dogs – and for many reasons:
- Common intolerances & allergies
Many dogs react sensitively to wheat or even develop an allergy. Possible symptoms are itching, skin problems, digestive disorders or recurring ear infections. - High gluten content
Refined wheat flour contains hardly any nutrients, mainly empty carbohydrates that offer little health benefit. - Blood sugar spikes & weight gain
Due to its high glycaemic index, wheat flour makes blood sugar rise quickly, which can encourage being overweight and diabetes in the long term.
Luckily there are many healthy alternatives! Try them out – your dog will love it.
Suitable ingredients for sensitive dogs
Is your dog sensitive to certain ingredients? Luckily there are many healthy alternatives:
Gluten-free flours – for a well-tolerated base:
- Rice flour – easy to digest & mild
- Coconut flour – high in fibre & good for digestion
- Potato flour – gluten-free & ideal for sensitive dogs
Easily digestible carbohydrates – filling & well tolerated:
- Sweet potatoes & potatoes – cooked & mashed as a natural flour substitute
Natural sweetness – without artificial additives:
- Puréed banana, apple, coconut flakes and honey – for a light sweetness & extra nutrients
Hypoallergenic proteins – for dogs with meat intolerances:
- Horse, lamb or duck – well tolerated & rich in nutrients
If your dog is especially sensitive, introduce new ingredients gradually in small amounts and watch how they react. That way you make sure they really do tolerate their new favourite treats well!
Cheerful shapes & colours for your dog treats: without colourings or preservatives
Homemade dog treats are pure love – and have one big advantage: you know exactly what's inside! No colourings, preservatives or flavourings, no artificial binders or fillers – only healthy, natural ingredients that your dog tolerates well.
Want your homemade treats to show some colour? These natural ingredients make the treats nice and colourful:
- Yellow with turmeric – not only gives a bright colour, but also provides valuable antioxidants.
Dosage: Maximum 0.2 g per kg body weight per day. Example: a 10 kg dog may have a maximum of 2 g turmeric per day. - Red with beetroot powder – brings intense colour and is rich in valuable nutrients.
Dosage: Up to 0.1 g per kg body weight per day. Example: a 10 kg dog may have a maximum of 1 g beetroot powder per day. - Green with spinach or blue-green with spirulina – natural colouring with a boost of vital nutrients.
Dosage for spirulina: Maximum 0.1 g per kg body weight per day.
That way the dog treats are a healthy snack and a real eye-catcher – completely without artificial additives.
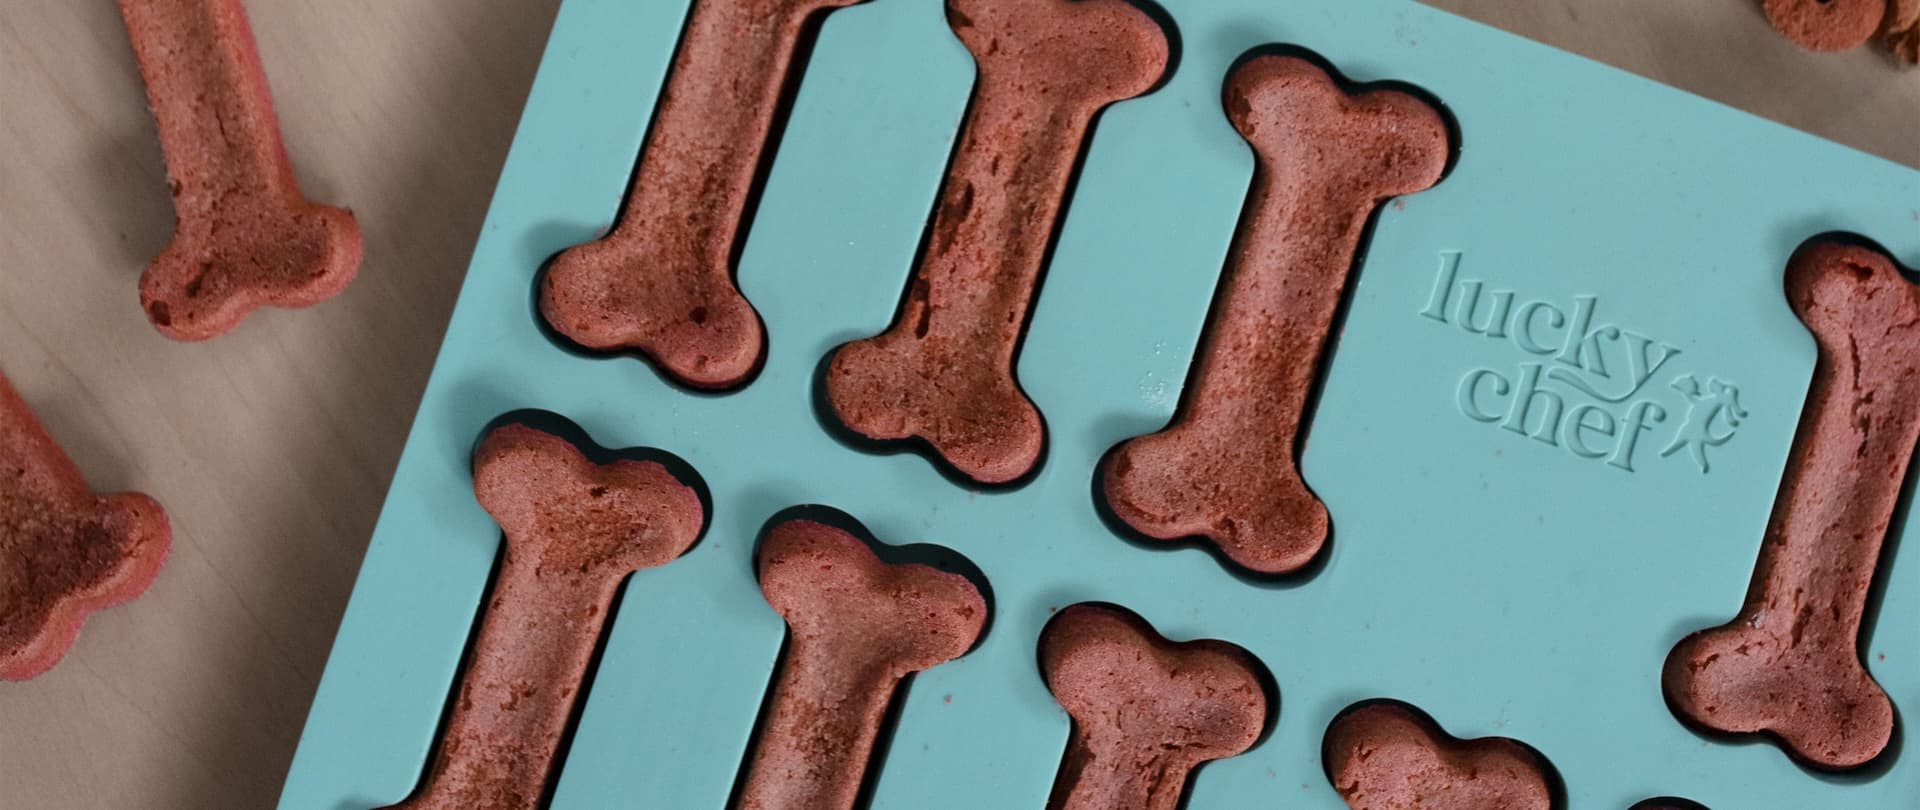
How do I bake dog treats with a baking mat?
The secret weapon for perfectly shaped dog treats? The baking mat! Whether hearts/half-spheres, bones or sweet mini donuts – with a baking mat you'll create pretty, even treats in no time.
The dough is simply spread into the moulds, smoothed off with a silicone spatula and the mat goes straight into the oven. It saves time and ensures perfectly shaped treats.
Not every dough is suitable for the baking mat. So that it spreads well, it shouldn't be too firm. That way you can easily fill the moulds and spread it evenly. The baking mat should also be made of high-quality material for our dogs. Make sure your baking mat is made of food-safe, BPA-free silicone.
Our practical tips for more baking fun:
So that baking is as much fun as snacking, here are a few proven tips straight from the LuckyChef dog treat kitchen:
The perfect dough consistency
The dough should be spreadable so that it fills the moulds of the baking mat well. If it's too thick, you can simply add a little water, coconut milk or goat's yoghurt – provided your dog tolerates it. If the dough is too runny, a spoonful of coconut flour or potato flour helps to bring it back into shape.
The right equipment
A high-quality, BPA-free baking mat – after all, we only want the best for our dogs. For clean work, a silicone spatula is worth it, so you can smooth off the dough effortlessly.
Bake in batches – your dog will love it
Why use just one baking mat when you can fill three at once? That way you always have a supply of homemade treats ready and save time and energy along the way.
How do I bake dog treats without a baking mat?
No baking mat to hand? No problem! You can also roll out the dough and shape pretty treats with cookie cutters, or roll small balls by hand. Alternatively, you can spoon small portions onto the baking tray. Please note: the thicker the treat, the longer the baking time.
Our practical tips:
- The dough shouldn't be too runny so that it rolls out well. If needed, you can help it along with a little coconut flour or potato flour.
- The thicker the dog treats are, the longer they should dry after baking so that they turn out nice and dry and crunchy.
How long do I need to bake and dry the dog treats?
So that your treats get the perfect consistency, stick to these baking times:
- Baking temperature: 180 °C fan
- Baking time: 25 to 30 minutes
- Drying: after baking, leave to cool on a wire rack
After baking, let the treats continue to dry in the switched-off oven.
This is how the treats keep well:
- Take the treats out of the silicone mould and let them dry at 50 to 80 °C fan for about 60 to 120 minutes with the oven door slightly open (tip: just wedge a wooden spoon in the oven door). This lets the residual moisture escape. The drying time can vary depending on the oven and baking mould. Test along the way to see whether they have reached the desired consistency, and adjust the time and/or temperature if needed.
- Alternatively, you can dry the treats in fruit or laundry nets – ideal in a warm, dry spot such as above the heater.
Our top dog treat recipes to make yourself
Our LuckyChef veterinary team has developed simple and healthy dog treat recipes – naturally with calorie details and nutritional tables. Our dogs are crazy about them, and yours will love them too!
Here are our dog treat recipes
- Dog treats recipe for the baking mat
- Basic dog treat recipe with 3 flavour variations
- Dog treats with oats
- Dog treats with liver sausage
- Dog treats with turkey, oats and pumpkin
- Hypoallergenic dog treats
- Dog treats for dogs with pancreatitis
- Relaxing dog treats
- Best training treats for dogs
- Buffalo treats for dogs
- Homemade dog treats – Valentine's edition
The winner of our dog treat taste test
Three freshly baked treat varieties are ready: oat treats, liver sausage treats and strawberry-coconut bites from the baking mat. Our LuckyChef office dogs can hardly wait and take their task seriously: which treat tastes best? The tension is rising!
Sniff, taste, enjoy. There's munching, chewing and drooling. Every treat gets its chance – and Nala makes them disappear faster than you can watch.
And the winner is ... The dog treat with liver sausage won over all the tasters completely - even the fussy Archie! Not a crumb left behind. Time to make more!
How can I make homemade dog treats last and store them?
Homemade dog treats are so irresistibly tasty that your dog devours them faster than you can say “Sit!”. So it's smart to make a proper supply right away!
With practical baking mats that's quick: just mix your dog's favourite dough, fill the moulds – and bam, with one baking round you have three full mats of delicious treats! That saves time and energy and means you always have a crunchy reward ready.
Why not get creative right away? Mix one basic dough and vary the flavours – one mat with oats, one with strawberry-coconut and one with liver sausage. That way it never gets boring for your dog!
And so that your treat supply stays fresh, we have a few tips on proper storage for you.
Storing the dog treats
Homemade dog treats are delicious, but not endlessly durable – and that's a good thing too! After all, they come without artificial preservatives. How long your treats stay fresh depends on the ingredients. As a rule: stored airtight in a cool, dry place, they keep for several weeks.
But beware, sweet-tooths (or rather: sweet-snouts)! Check the supply regularly – you only want to give your dog the best and not serve any involuntary vintage treats. If a treat smells suspicious or feels different from freshly baked, it's better to say goodbye to it.
Store cool and dry:
- Keep the treats in a paper bag or an airtight container in a cool, dry place.
- If they still have slight residual moisture, the paper bag helps to regulate moisture.
Store in the fridge:
- Only worthwhile if the treats are completely dried through.
- Keep them in an airtight container or a plastic bag to avoid condensation.
Shelf life of homemade dog treats with meat and cheese in the fridge
Dog treats with meat or cheese are super tasty – but unfortunately not durable forever. How long they stay fresh in the fridge depends on how well they were dried and whether they are stored airtight.
Our recommendation:
- Dry the treats as long as possible to extend their shelf life.
- Keep them in an airtight tin so no moisture gets in.
- And very important: check regularly! Smells strange? Feels odd? Then it's better to throw it out – safety first!
So: eyes (and nose) open! When in doubt, throw out the old treats – and bake new ones!
Freezing the treats
You've baked a whole batch of deliciously fragrant dog treats – your dog is in seventh snack heaven and ready to demolish them in record time. Wait, stop! Before everything disappears in one gulp, there's a better idea: into the freezer! Just let the treats cool completely, pack them portion by portion into an airtight container or freezer bag and make sure they don't stick together – otherwise instead of individual snacks you'll get one deluxe treat block. That way you always have a little supply box full of treats ready when you want to make your dog happy in between!
- Let the treats cool completely.
- Freeze in an airtight container or freezer bag.
- Defrost portion by portion as needed.
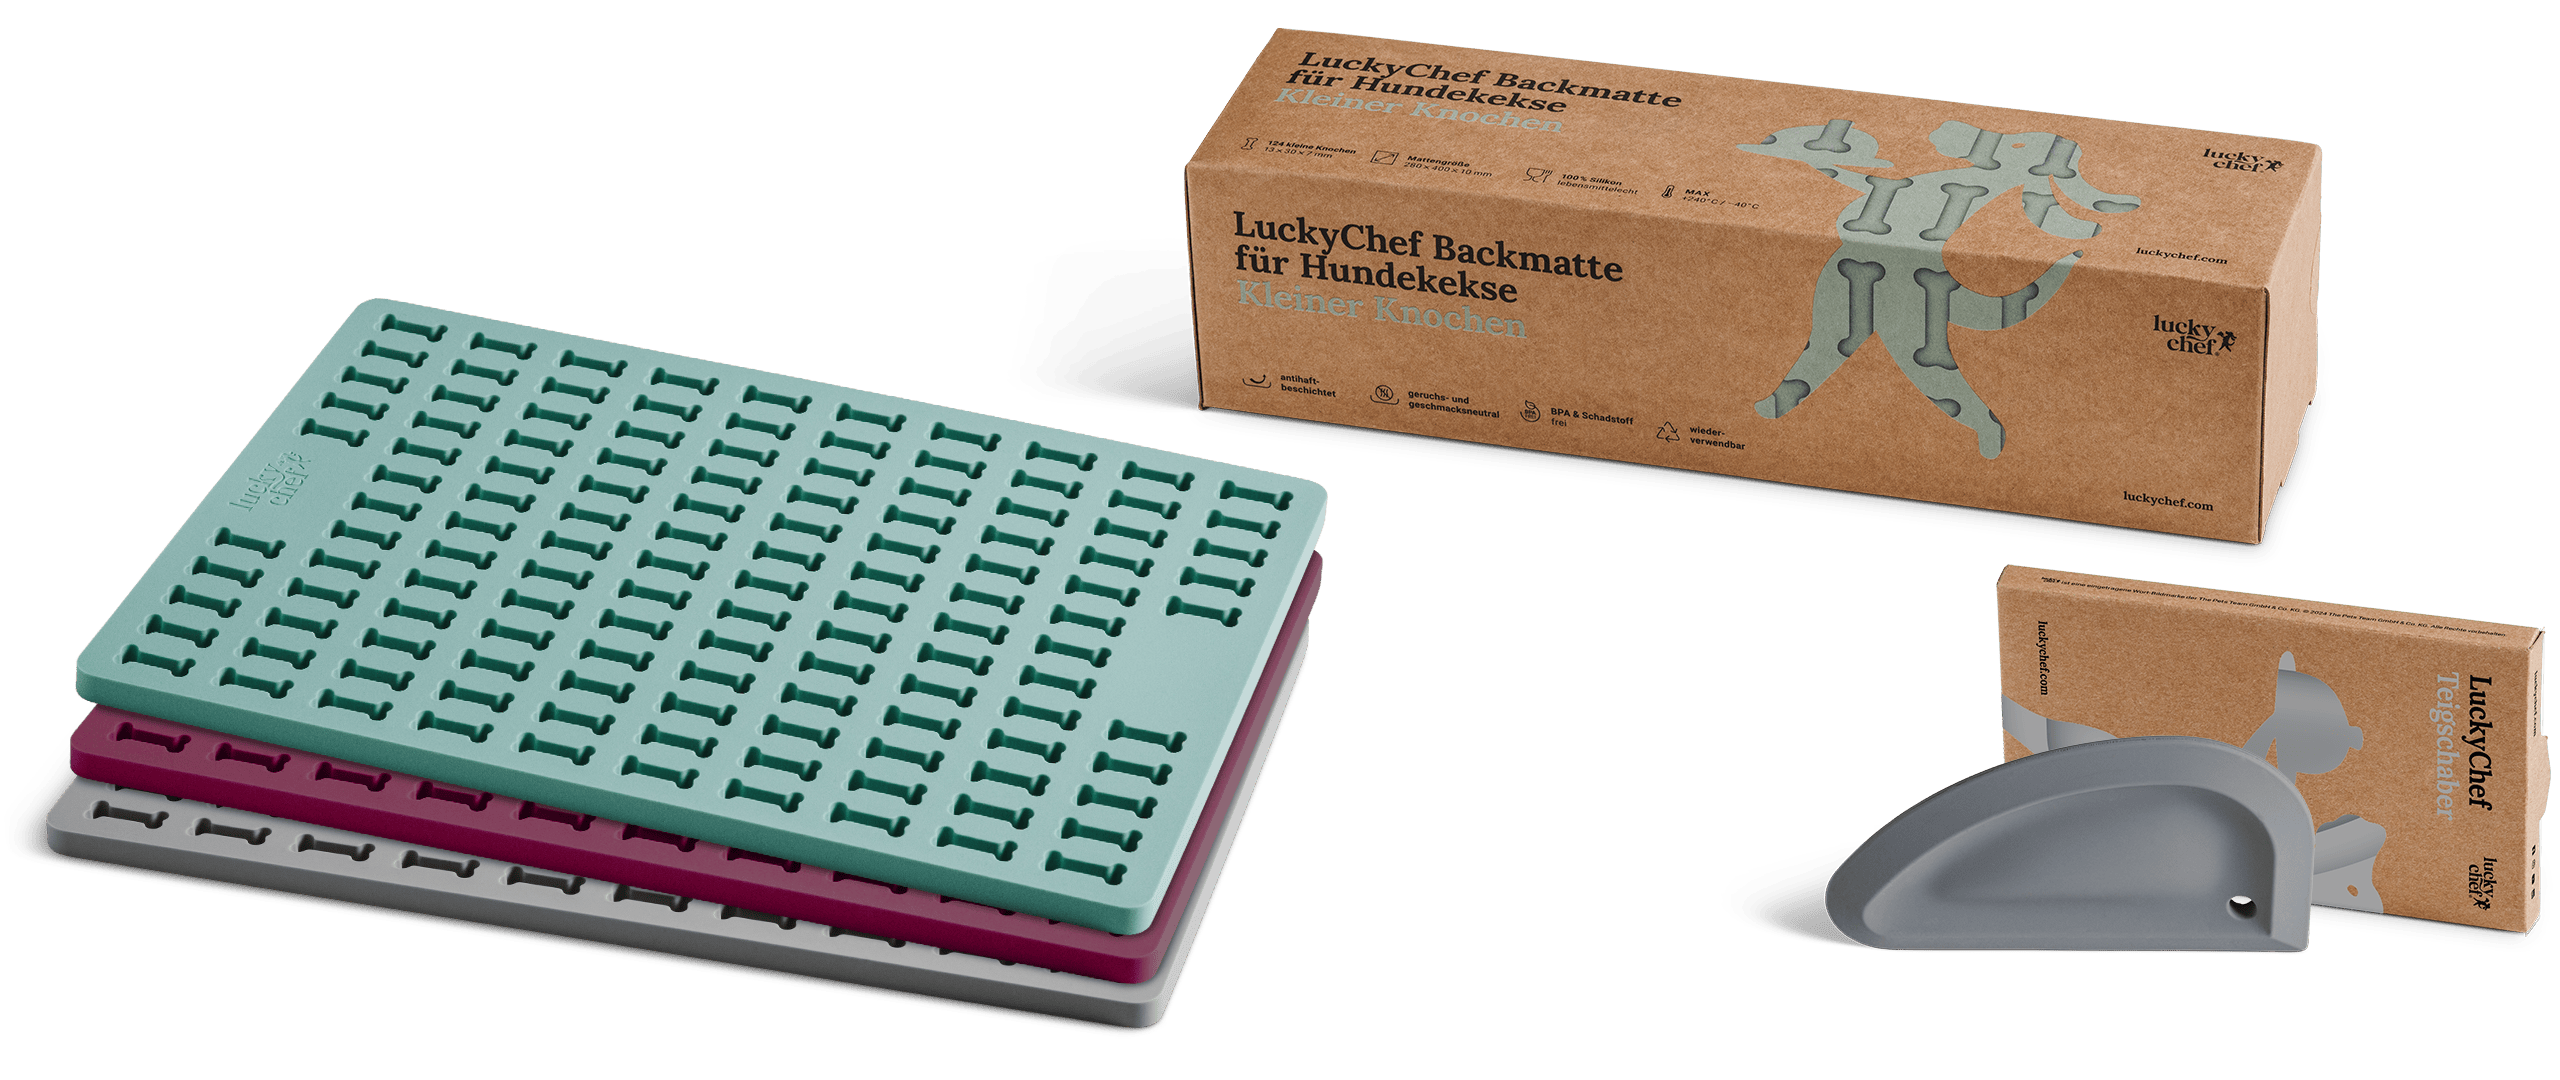
Handy for this: baking mats & dough scraper

LuckyChef Baking Mat Starter Kit (3-piece set)

LuckyChef Baking Mat for Dog Treats - Hearts with Half-Spheres

LuckyChef Baking Mat for Dog Treats - Donuts

Baking Mat for Dog Treats - Large Bone | LuckyChef

LuckyChef Baking Mat for Dog Treats - Small Bone

LuckyChef Dough Scraper
Frequently asked questions (FAQ)
- Grain-free: rice flour, potato flour or coconut flour
- With grain: spelt flour or oats
- Without flour: sweet potatoes or potatoes as a base
Whether tasty treats for you or your dog, for baking you need:
- An oven
- Baking mats and a dough scraper are handy if you want to bake a supply of perfectly shaped treats for your dog quickly and easily.
- One baking tray per baking mat, or a baking tray for self-shaped treats
- Useful for baking without a baking mat: baking paper, a rolling aid, cookie cutters
What goes into the dough: plenty of love. What has to stay out: sugar, salt and artificial additives! For colourful treats you can use turmeric (yellow), beetroot (red) or spirulina (blue-green).
The treats never get boring if you keep varying the ingredients: meat such as minced beef or liver, fish such as tuna, dairy products such as cottage cheese, eggs, as well as vegetables (e.g. carrots, sweet potatoes) and fruit (e.g. bananas, berries).
With or without grain, the choice is yours – sweet potatoes or rice flour are great alternatives.
- Bake at 160 to 180 °C fan for 25 to 30 minutes – depending on the size of the treats. Then leave to dry in the switched-off oven.
- For especially long shelf life: dry the treats at 50 to 80 °C for about 60 to 120 minutes. The time can vary depending on the oven and baking mould. Check along the way whether the treats have the desired consistency.
Yes! You can adjust the ingredients individually. Use e.g. potato or buckwheat flour instead of spelt flour. That way you can also do completely without grain.
Definitely! A tray of dog treats often costs only one to two euros, depending on the ingredients. If you fill three baking mats at once, you also save time and energy.
The little flour guide
Coconut flour
Properties: High in fibre, low in fat, gluten-free
Use: Very absorbent – needs more liquid in recipes
Benefit: Supports digestion and contains healthy fats
Almond flour
Properties: High in protein, contains vitamin E and healthy fats
Use: Good for treats, but should be used in small amounts
Note: Not for dogs with sensitive digestion or nut allergies
Buckwheat flour
Properties: Grain-free (knotweed plant, pseudo-grain), gluten-free
Use: Can be used like normal flours, same baking behaviour as classic flours
Benefit: Well suited for allergy sufferers
Chestnut flour
Properties: Naturally sweet, gluten-free, easy to digest
Use: Good for treats or breads for dogs
Benefit: Contains vitamins B1, B2, B6 and potassium
Chickpea flour
Properties: High in protein, high in fibre, gluten-free
Use: Good for savoury treats or as a binder
Note: Some dogs don't tolerate legumes well
Sweet potato flour
Properties: Rich in beta-carotene, slightly sweet, easy to digest
Use: Suitable for treats and purées
Benefit: Supports eye and skin health
Pea flour
Properties: Good protein source, gluten-free
Use: Can be used as a base flour for treats or snacks
Benefit: Contains plenty of fibre and plant protein
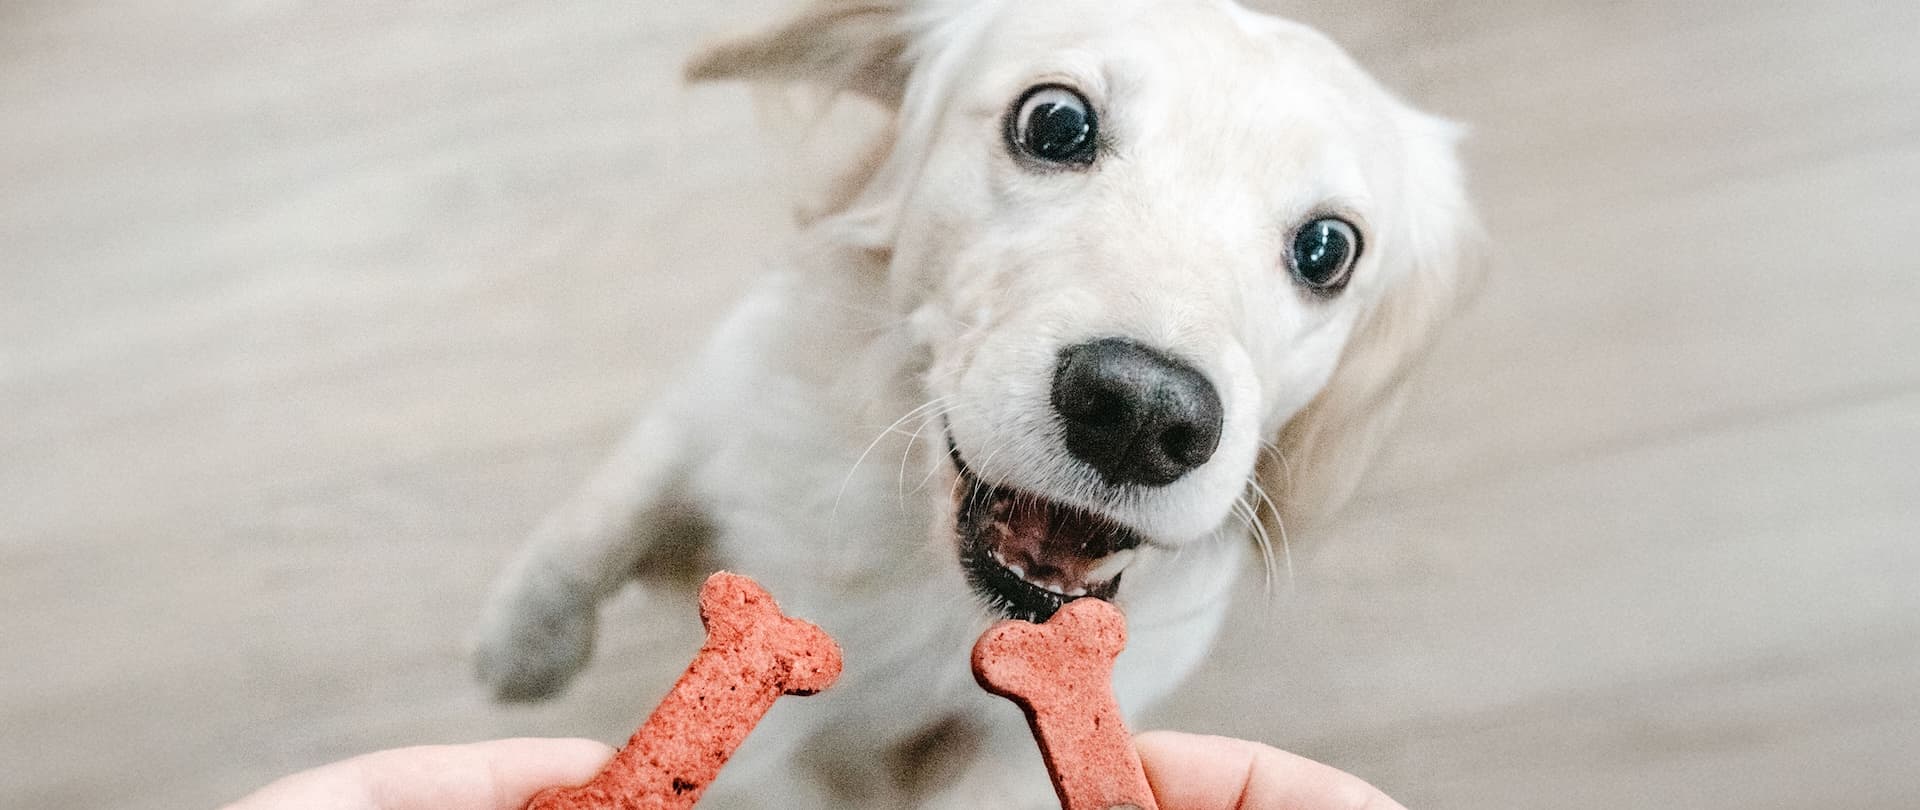
Have fun baking and snacking!
Homemade dog treats are healthy and tasty and a breeze to bake – and best of all: you know exactly what's inside! If you can bake, you can cook too. With LuckyChef recipes, complete dog meals come together just as effortlessly as crunchy treats. So get to the bowls, try it out and find out which recipe gets your dog drooling. Your reward? A happy dog, a licked-clean bowl – and that outrageously cute doggy look!
We'd love to see your photos and videos! Tag us with #luckychef.


